Tuesday, January 12, 2016

Good morning Crafting Community.  Just stopped by too wish everyone a Happy, Happy New Year.  I hope you all had a great Christmas.  And received many gifts from friends and family.  I also wanted to let you know that I have added a new way for you to reach out to me in a personal way.

Below you will find a button that I have added for you.  So, when you are working on a project or just want to share an idea.  You can just push the button and you will be able to reach me.

Please upload you pics from the holidays so that we can see what you guys have been making.  There will be also a SWAPE coming up so keep checking back with me. As I am sure you know that Miss. Lane started the pocket letter idea and now everyone is putting one together.  Yes, me too.  I truly enjoy the process.  If you are interested in a pocket letter swape.  Then leave a comment down below with your contact information and I will reach out to you.

When you are working on a project or just thinking about a new project.  Then you can now pick up the phone and I will be glad to help you in any way that I can.

Remember, Keep Living the Crafting Life.


Saturday, November 9, 2013

Swarls-it©2011 Tutorial

I will be adding the instructions later today.  I think you guys are going to enjoy making these.

Supplies Needed:

All items listed purchadsed @ Hobby Lobby Store
If you are one of my followers and you live in Baton Rouge, Louisiana.  I went to the (HL) on College Drive.

1- pair of scissors
2-extra long glue sticks
1-glue gun
1-pattern
1-sheet of heavy weight plastic canvas
1/2 yard-felt (your color choice)
2-Alagator clips
1-wooden ruler (inches)
1-roll of clear scotch tape
1-manila floder (to create your pattern on)
1-roll of home decor trim (your color choice) (in my design I used color pink/green Item#350819/5-yds. to a roll. 1/4"inch wide)
1-bunch of small flowers (to add accent)
1-pack of small tassels (used on some of my designs of Swarls©2011)
1-pack of flat back pearls (I used pink)
1-bottle of Arleenes extra thick glue (the bottle is white with a marve label)
Copyright notice:  Feel free to make as many as you desire to keep for yourself or to give as gifts.  If you would like to sell them.  Then contact me before moving forward.  You may reach me @ cbcarrol@live.com or call 888.312.4734 I will be more than happy to assist you.

Remember, if you can get your supplies before tomorrow then you will be able to follow along with me.  I will not up load the instructions and pictures until Sunday, November 10, 2013.

Below is a picture of the finished item.  
I will see you all later today.

And remember, Keep Living the Crafting Life.©1995


Eminem - "Rap God" (YouTube Music Awards)

http://www.youtube.com/v/fySaWH6qIVg?autohide=1&version=3&autohide=1&feature=share&attribution_tag=t-KRchJVyww5hzzDXzFtRg&showinfo=1&autoplay=1

Sunday, October 27, 2013

The New Birthday Boutique Style Hair Bow©2013

 Katherine wanted a Bow that took up some of the elements in her hair accessory.  As you can see that I added the felt with top stitching just as the dog on the grament.  I then added the little colored sticks that are very soft and flexable. The center knot was the same as the trim around the leg of her outfit pant leg. When my clients place an order for a Birthday Bow, this is the only style that they will be re-created from but, in the colors that they need.


  As you guys can see this is the back of the Birthday Bow.  With the type of work that we do as Craft Professionals. Our work must look good from every angle.  My clients do look underneath the bows that they order.  Just a little TIP!!

 Miss Katherine is just a DIVA!! She just had to have the week coming up to her BIG DAY.  Cute outfit!!


 This is the MAIN BOW OF THE BIG BIRTHDAY BOUTIQUE STYLE HAIR BOW. Every color has been added to bring out the beauty of this hair bow.  As you can see you may order these in sets of 2's.


Miss Katherines mom made a great choice in the actual Birthday Dress.  Each element is represented here.  Her mom was so proud on October 18, 2013.  Mom, you did a great job!  Keep up the good work.
So, come on into Ms. Katherines first Big Birthday Party.  The party was just for the family.  I was there her mom Mrs. Emily S. and her God Father Mr. Darnell S.  However; none of us wanted to be in the pictures.  Please enjoy!!

The first shot you all are looking at is the table setup.

This is a closer view. She did not do bad for her first birthday.


As you can see.  She did not want these bows in her hair any longer.  So, her mom removed them.

Here she seems to be happy once again.  She loves her passie. When she puts her left foot up under her eating table. You can say, that she is very, very happy.


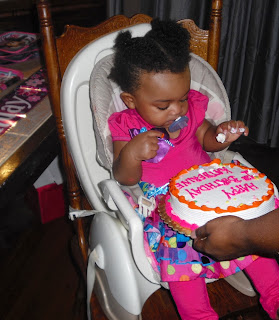
Now you guys are looking at her very own SMASH Cake.  I thought that it came out pretty.


Well, after we just set there looking at her looking at the cake.  Finally, she put her hand in it and touched it.  WOW!!


This is it.  I just love doing this!  This is really FUN!!!!


I hope you all enjoyed coming to Miss Katherines first birthday party.  Oh, I her mom spelled out her nick name.  Kat!! We call her this when we get together everyday of her life.  Meaning, me and her mom.


We enjoyed having you all over for cake and ice cream with Miss Katherine on her first B-Day.  Please come back for a visit again, very, very soon.  Now next year we will be giving her a party somewhere here in her hometown of  Louisiana.

Also, I just want to say to all of my many visitors that come to my blog each and everyday.  Thank you for taking the time out of your lives to share your time with me.  I started this blog last year and have gotten great response from all of you.  I have visitors that come for a while from as far away as the UK.  Please do keep coming by and enjoying what I have to offer to the crafting community and the world.  Oh, and thanks to everyone who voted for me in the contest that Martha Stewart and American Made created.  I will be uploading the winners in a few days.  In the mean time.  Please submit your craft projects so that the world can see just who is out there and what you all are creating.

Remember, Keep Living the Crafting Life.©1995


Thursday, August 22, 2013

Summer is all most gone!!!

Hello to my friends and crafting family.  I have been working on just about eveyhing that has poped in my head.  I have a little class for you guys.  Please let me know if it is easy for you all to follow?  Leave your comment in the box below.  The Crafting Coach:  Faux Quilt Bow


Materials Needed:

Note:  I just purchased a raiment piece of fabric from Hobby Lobby.  But, I chose this piece because of the quilt like pattern it had.  That made my project easier.


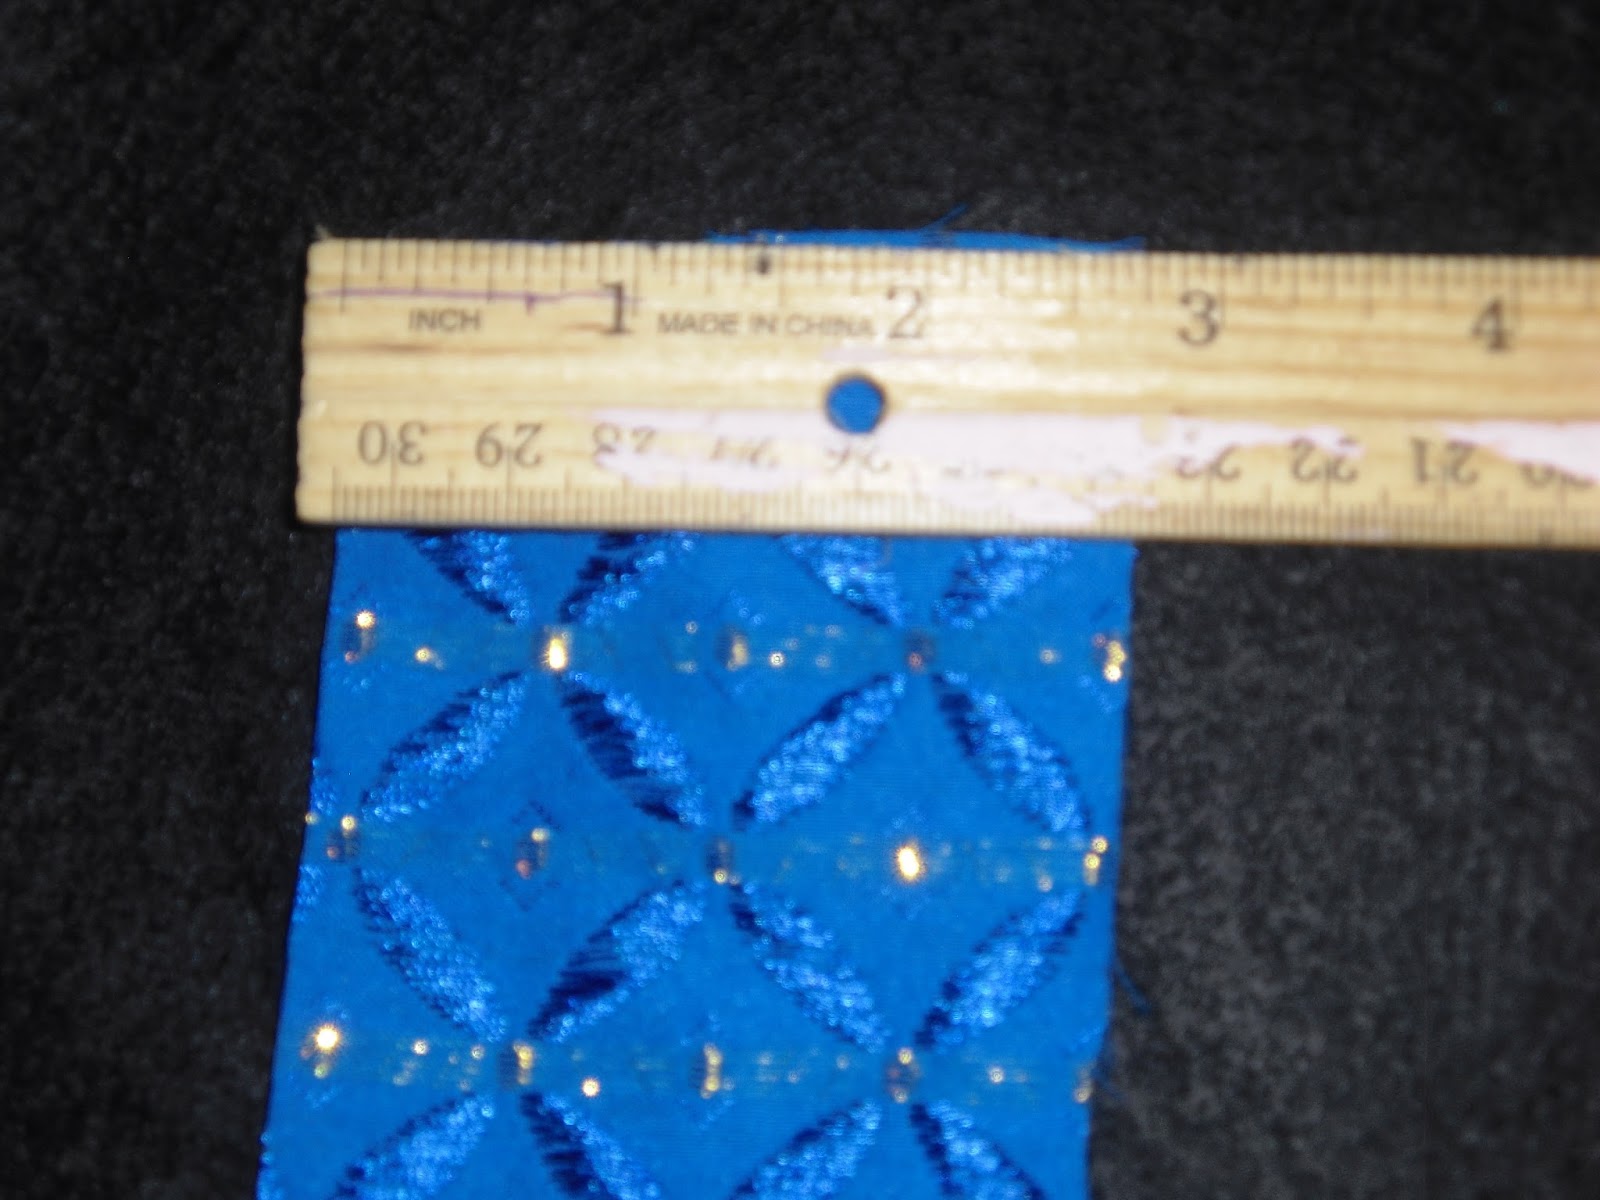
Now measure the length of the fabirc you want your bow to be.  Remember this tip.  The finished bow will be 1/2 that size when completed.  My finished bow was 4-1/4"in. wide.
You have measured your fabric and have now cut it out.  Now lay that aside.


Now measure your felt just a little shorter than your fabric for your bow.  About a 1/4"in. shorter at the left and right of the piece of felt.  Now in the next picture you see a pattern that you are now going to use.


Take your pattern piece and lay it on the cutting mat.  


Fold your felt piece going east and west going away from you.  Lay your pattern piece on the fold line matching the straight edge of the felt.  Now make your cut.  Just make sure that the circle part of the pattern is facing towards the center of the felt piece. Do this cut  for both sides. 


When complete your felt piece should look like this.  


Now lay your felt piece and your fabric piece out flat side by side.  


Now lay the flet piece on top of the bow fabric.  Remember the bow fabric should be on the wrong side facing up.  Now you see that the cuts you made earlier are on the east and west side of your bow fabric.  This is the correct position.

The reason why you made these cuts was to remove some of the bulk when you are ready to do your running stitch down the center of the fabric and felt sandwich.


You are now folding to get your center point for the bow.  I usually just eye ball this.


As you can see here.  You are now going to apply a bead of hot glue from the straight edge to a little before where the cut was made.  Do this on each flap.


Measure your finished bow after you have glued everything in place.  I did not want a very large bow as you can see here.  But that is totally up to you.


Once you have your center.  Now bring the north and south pieces to over lap each other.  Make sure you are in the center of the bow.  I usually just lay my sheers on top to hold it in place why I get my needle and thread.


Now do a running straight stitch down the center of the piece.  Now you can see why we took away some of the bulk from here.  It makes it easier to gather your bow.  If you want your bow to have fuller folds.  Then make your stitches long.  If you want your folds smaller than make your stitches shorter.


How that you have brought your stitches together.  Just wrap the thread around about 5 times.  Then close off at the back of the bow.  Do you see how by adding the felt makes the bow look like it has been quilted?


This is your finished bow.  I then just picked up a charm from hobby lobby that came 4 on a card.  I loved the high heel shoe.  I just cliped it on the bow knot and that is it.  You are done.

If you like you can use the open mouth clips or just a bobby pin.  Either way.  They will think that you set down and quilted this bow design.  Sorry the clip picture did not come out any clearer.


I do hope that you all enjoyed this tutorial on making a Faux Quilted Bow.  It was my please to go over the steps with you all.  Now for the ones who have no intention of making this.  I also sale them on my site.  If you are interested in purchasing one of the or as many as you like?  Just email me and I will get back with you.  

Again, thank you so much for allowing me to share this faux technique with you.  And there will be more to come!!

Remember,  Keep Living the Crafting Life.©1995


Friday, July 5, 2013

My Heart is Broken!!

Things have been happening so fast and then again so slow.  I know I can share this with you all.  I have never met a crafter that was an uncaring person.  My life just seems to be in limbo.  I just can't find my way right now.  I just can't seem to sleep anymore or enjoy the things I once enjoyed?  In September of 2000, was the beginning of the end for me.

On September 10, 2000; I lost my very best friend.  The person I shared my life with for over 15 years of my life.  Mr. Percy Mumford, Jr. He was the first man in my life that said, Life your dream.  He truly believed in me. He was my lover, my friend, the one I could tell my secrets too.  I cannot tell you anything about his funeral.  For I don't remember it.   Then in 2005, I lost my Father.  Mr. Richard Clark, Jr.  I could not believe that he was gone.  I can remember setting in the church just watching him in the coffin.  When the lid on the coffin was closing, I can remember just looking at him until it was closed. You see, my father use to come to my moms house everyday.  I mean, everyday.  We would talk the talk.  Now that I think back to the last time I saw him alive.  He was so happy that day.  He called to me from the front of the house because I had walked to my bedroom which was in the back of my moms house.  He said, I'm gone.  I said you leaving?   He said, yes.  I see you tomorrow.  I said, okay.  Then I just stood there for some reason.  Until this day. I have never visited his grave.  I am just not ready yet.

Now that was the brick to fall in my life.  Then March, 2012; I lose my mom.  Yes, I know she was my grandmother which was my fathers mother.  But, to me.  She was my mother.  Mrs. Emily A. Perkins.  She had been in my life for over 55 years.  Whatever I know as a woman?  She gave me that.  This was the third brick to fall.

I know you all understand where I am coming from.  I just don't know which way to go anymore.  I read my bible on a daily basis.  And being a Deaconess in my church also helps me to get through this.  The three most important people in my life are gone.  I just wish that Heaven could have waited just a little longer for them.I just don't think I am ready to stand up on my own.  I have had that support system all of my life.  Now, it is gone.

Thank you all so much for allowing me to share my inner most feelings with you.  I feel better now.  Thanks for being here for me.  I truly feel that we are not only friends but a family.

Remember, Keep Living the Crafting Life.©1995

Saturday, June 29, 2013

Crafters & Hobbist There's A New World Wide Contest!!

Martha Stewart - American Made 2013 - Nominee BadgeJust a bit of news.  Martha Stewart American Made 2013 competation is off and running.  That's right.  Just follow the link above and it will take you to my entry.  I really need you guys to give me your VOTES!!  I am going aganist 1000's of entries from all over the world.

This is also a great chance for you to place your entry as well.  So, just click on the badge above and give it a world.  Even if you are thinking about entering the competation? Please give me your votes.  Let me know and I will give you my support in return.

Let's get this show on the road and get crafting or what ever your skill set maybe.  My hope is that one of you guys that visit my blog or myself will be in the running.

Remember, Keep Living the Crafting Life.©1995