.jpg)
Materials Needed:

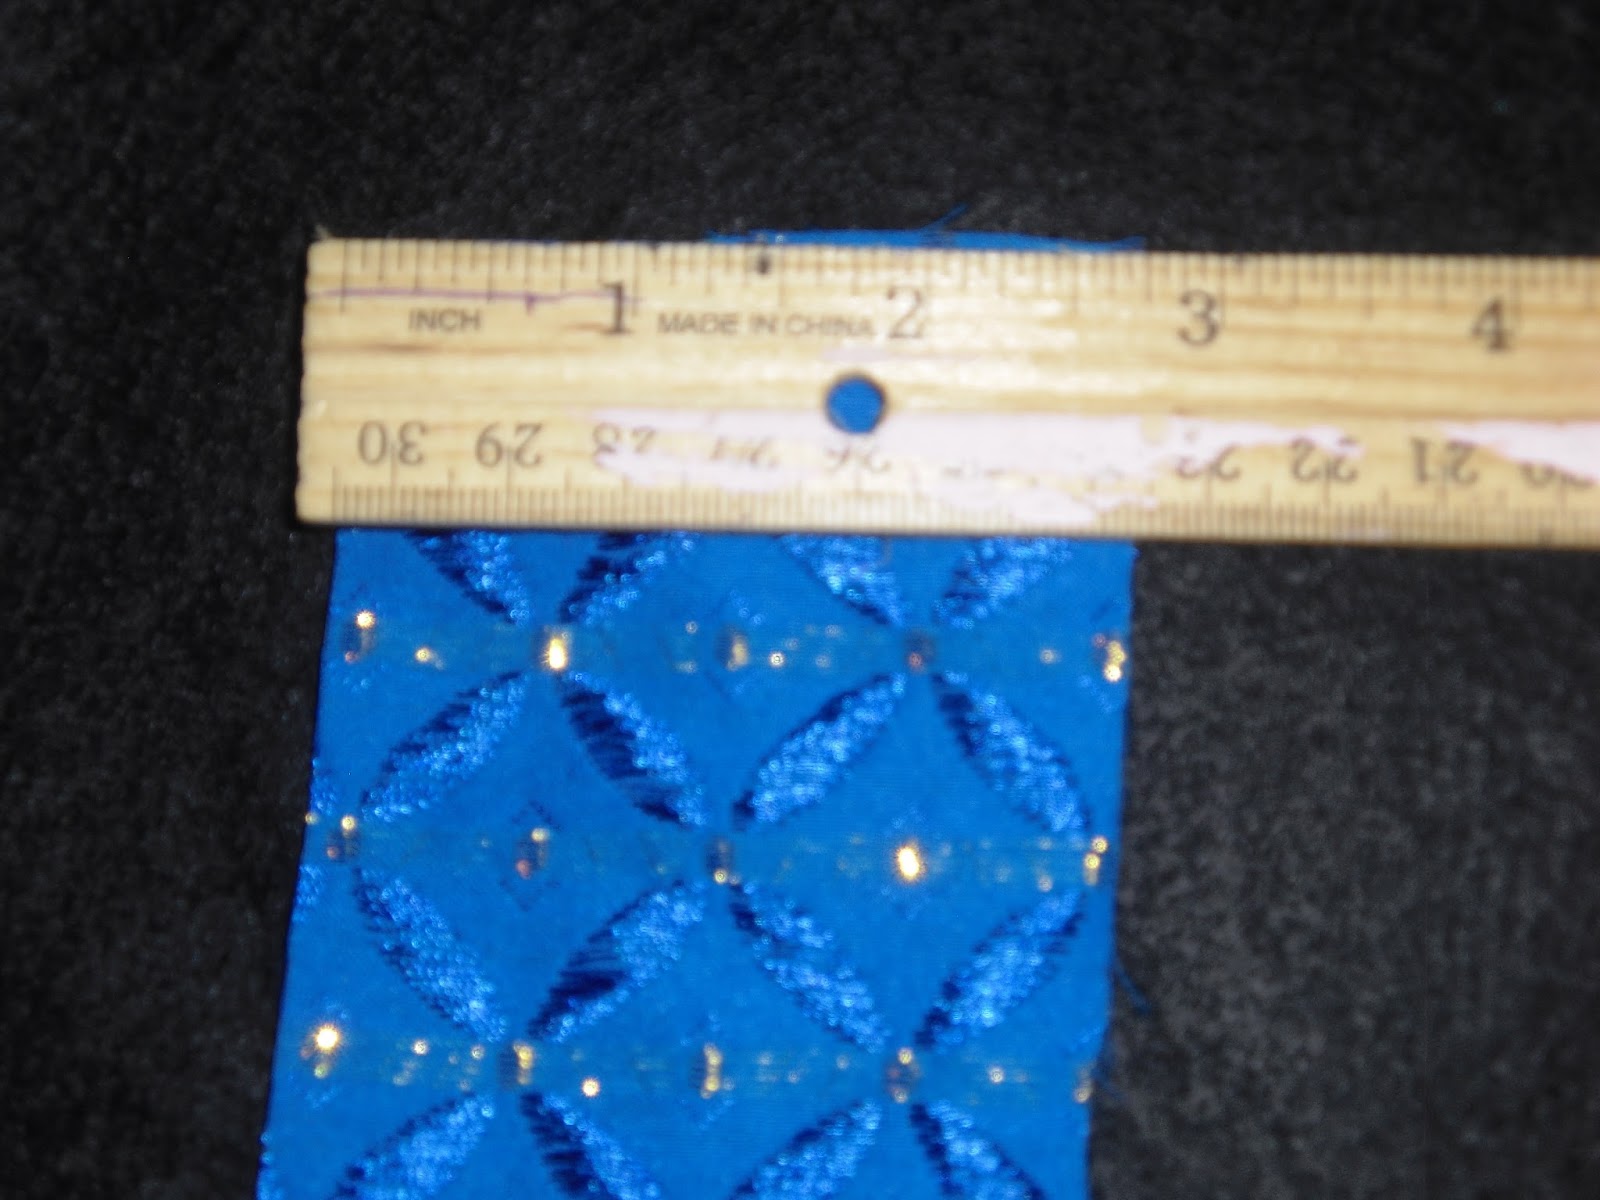
Note: I just purchased a raiment piece of fabric from Hobby Lobby. But, I chose this piece because of the quilt like pattern it had. That made my project easier.
Now measure the length of the fabirc you want your bow to be. Remember this tip. The finished bow will be 1/2 that size when completed. My finished bow was 4-1/4"in. wide.

You have measured your fabric and have now cut it out. Now lay that aside.

Now measure your felt just a little shorter than your fabric for your bow. About a 1/4"in. shorter at the left and right of the piece of felt. Now in the next picture you see a pattern that you are now going to use.

Take your pattern piece and lay it on the cutting mat.

Fold your felt piece going east and west going away from you. Lay your pattern piece on the fold line matching the straight edge of the felt. Now make your cut. Just make sure that the circle part of the pattern is facing towards the center of the felt piece. Do this cut for both sides.

When complete your felt piece should look like this.

Now lay your felt piece and your fabric piece out flat side by side.

Now lay the flet piece on top of the bow fabric. Remember the bow fabric should be on the wrong side facing up. Now you see that the cuts you made earlier are on the east and west side of your bow fabric. This is the correct position.

The reason why you made these cuts was to remove some of the bulk when you are ready to do your running stitch down the center of the fabric and felt sandwich.

You are now folding to get your center point for the bow. I usually just eye ball this.

As you can see here. You are now going to apply a bead of hot glue from the straight edge to a little before where the cut was made. Do this on each flap.

Measure your finished bow after you have glued everything in place. I did not want a very large bow as you can see here. But that is totally up to you.
Once you have your center. Now bring the north and south pieces to over lap each other. Make sure you are in the center of the bow. I usually just lay my sheers on top to hold it in place why I get my needle and thread.

Now do a running straight stitch down the center of the piece. Now you can see why we took away some of the bulk from here. It makes it easier to gather your bow. If you want your bow to have fuller folds. Then make your stitches long. If you want your folds smaller than make your stitches shorter.

How that you have brought your stitches together. Just wrap the thread around about 5 times. Then close off at the back of the bow. Do you see how by adding the felt makes the bow look like it has been quilted?

This is your finished bow. I then just picked up a charm from hobby lobby that came 4 on a card. I loved the high heel shoe. I just cliped it on the bow knot and that is it. You are done.

If you like you can use the open mouth clips or just a bobby pin. Either way. They will think that you set down and quilted this bow design. Sorry the clip picture did not come out any clearer.

I do hope that you all enjoyed this tutorial on making a Faux Quilted Bow. It was my please to go over the steps with you all. Now for the ones who have no intention of making this. I also sale them on my site. If you are interested in purchasing one of the or as many as you like? Just email me and I will get back with you.
Again, thank you so much for allowing me to share this faux technique with you. And there will be more to come!!
Remember, Keep Living the Crafting Life.©1995
No comments:
Post a Comment